1) Description
Plugin to collect information on solar installations managed through the Sunny Portal web portal.
The Sunny Portal web portal makes it possible to obtain significant data on solar installations in a simple and practical way, whether it is small rooftop installations or large solar parks.
This plugin is compatible with the current version of the Sunny Portal (free).
2) Plugin configuration
IMPORTANT: This version of Plugin is compatible with any version of Jeedom (v.3.3 or higher). For its configuration, access to Jeedom through the Google Chrome browser (latest versions) is recommended.

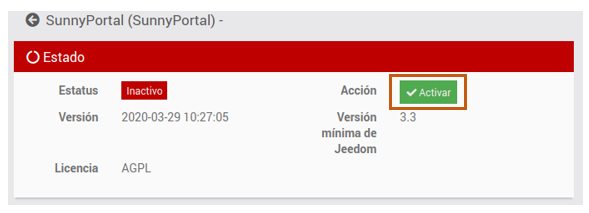
Once installed in the market plugin, we will return to the plugin management tab and we will see the deactivated Sunny Portal icon.

We will access and activate it
Once activated, a configuration field will appear where we will have to indicate the user and password with which we are registered in the Sunny Portal web portal that we will integrate into our gateway.

3) How to declare Solar Plants in Jeedom
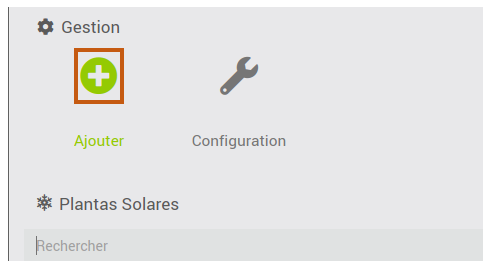
By saving the configuration, we can start integrating the solar plants that are configured in the Sunny Portal into our gateway. For this we will go to the “Plugins-> Comfort-> Sunny Portal” tab,

where activating the add button, we will declare a new zone.

When adding a new solar plant, the gateway will ask us for a name to associate with this object. The name, that we introduce will be modified later by the plugin, by the name the solar plant that is enabled in Sunny Portal

IMPORTANT: At this point if Jeedom does not have communication with the Sunny Portal, which we have configured in the previous section, it will give an error due to response time, and will not correctly display the following interface.
After a few seconds (time it takes the plugin to collect the solar plants that the Sunny Portal has configured) the plugin will show us the following interface.

Manually, the location of the object will be chosen (Object parent), the Active and Visible checks will be activated, and finally one of the zones that Sunny Portal has enabled (Choose Floor) will be chosen.
When we choose a plant, the plugin will automatically fill in the necessary data (plant OID) to identify when we make requests to Sunny Portal through Jeedom
4) The Sunny Portal commands implemented
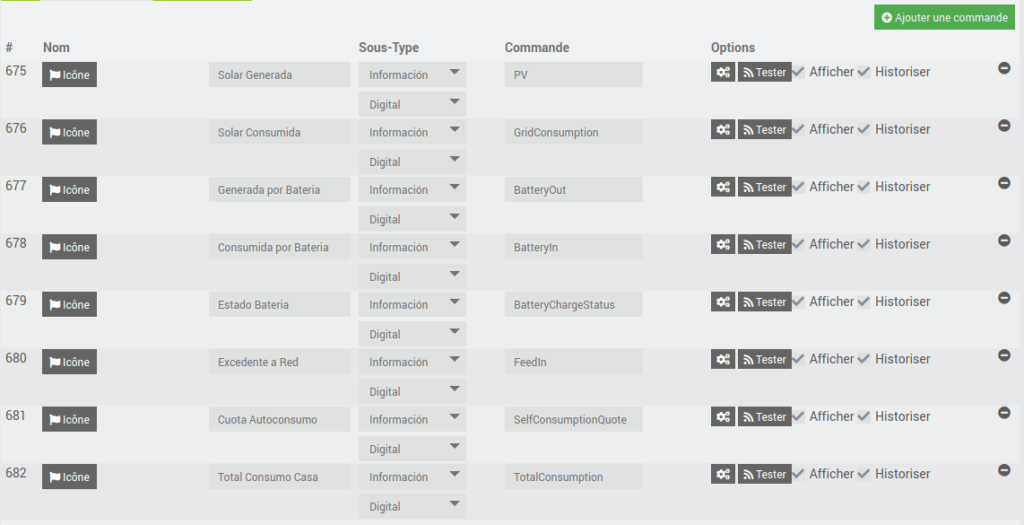
Once we save the changes, the plugin will automatically generate the commands associated with the new object, which we can see by accessing the commands tab.

The plugin generates 8 commands to get information from the Sunny Portal:
5) The Sunny Portal widget
Once the object associated with the zone (see section 2) has been created in the chosen location (Objet parent), the widget is automatically generated to allow interaction with the zones configured in your Sunny Portal.

The widgets are programmed to:
Update values automatically every 5 minutes
Update session in Sunny Portal web portal every hour
Depending on the version of Jeedom in which we install the plugin, it will be displayed differently:

NOTE: Jeedom v4 version: The first time the widget is generated it will be reduced, being necessary to activate the dashboard edition that allows you to expand the view.

